CA1Kit™
Note: The kit contains a round bushing and an oblong bushing. If you need 2 round bushings or 2 oblong bushings please contact us prior to ordering. All cables look round you must remove all of the old bushing to determine if the given cable requires a round or an oblong bushing. See step 1 on how to remove the old bushing.
OLD BUSHING REMOVAL:
1. Remove the old bushing by grinding off the top center of the old bushing, and then knocking the bushing out of the cable end. For cables with clips, you can remove the clip to remove the bushing assembly. Once the old bushing is removed you will be able to determine if the cable requires the round or the oblong bushing replacement.
 |
 |
 |
 |
DETERMINE THE BUSHING SHAPE:
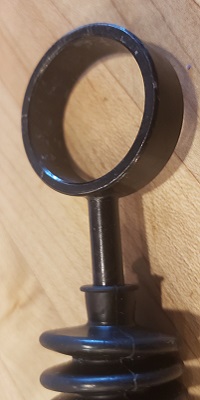
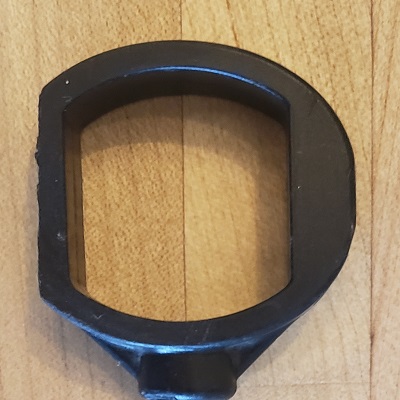
2. Once the old bushing is removed you will either see a round cable opening or an oblong cable opening. Note: each of your two cables must be checked independently. Just because one cable end is round it does not mean the other will be round.
| Cable Shapes Once Bushing is Removed | ||
| Round: | Oblong: | |
 |
 |
 |
ROUND BUSHING INSTALLATION (red bushing):
1. Familiarize yourself with the direction that the bushing should be installed into the cable end based on the way the cable lies on the transmission.
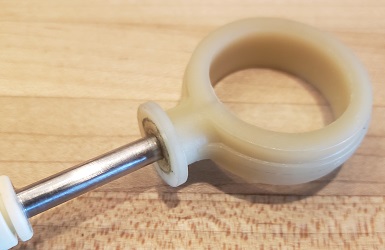
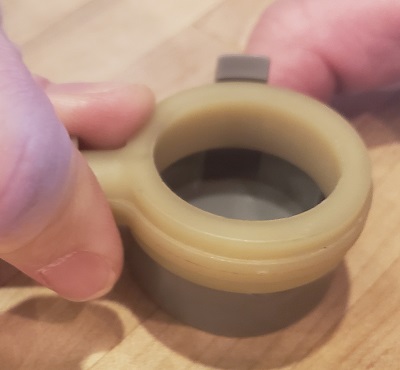
2a. For metal ring style cable ends, install the receiving cup onto the cable end.
 |
 |
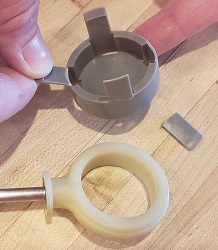
2b. For plastic cable ends, the cup may still help with installation, but it will not clip onto the cable end. The cup is an installation aid, but the bushing can be installed without it. You might try removing two of the plastic prongs when using the plastic cable end.
 |
 |
 |
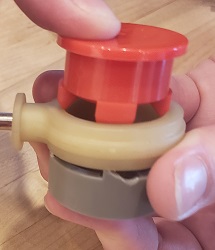
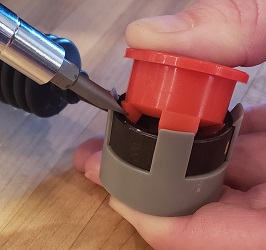
3. Place the bushing into the cable end so that at least 3 of the 4 prongs are inside the cable end. You can use a a flat-head screwdriver to compress the prongs into the cable end if need be.
 |
 |
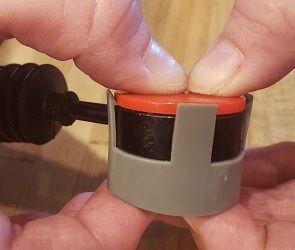
4a. If you’re able to get all prongs in the cable end, gently press the bushing into the cable end. You can squeeze it in by hand if you have strong hands, or you can use pliers or other tools. After the bushing is completely pushed in the cable end you can remove the installation cup.
 |
 |
 |
 |
![]() 4b. If you’re not able to get all the prongs into the cable end, apply pressure to the remaining prong while squeezing the bushing into the cable end. After the bushing is completely pushed in the cable end you can remove the installation cup.
4b. If you’re not able to get all the prongs into the cable end, apply pressure to the remaining prong while squeezing the bushing into the cable end. After the bushing is completely pushed in the cable end you can remove the installation cup.
 |
 |
 |
OBLONG BUSHING INSTALLATION (yellow bushing):
1. Familiarize yourself with the direction that the bushing should be installed into the cable end based on the way the cable lies on the transmission.
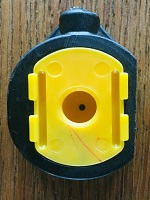
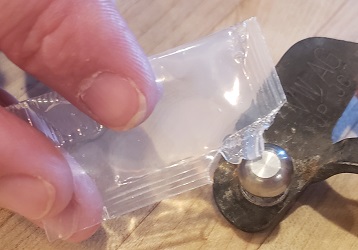
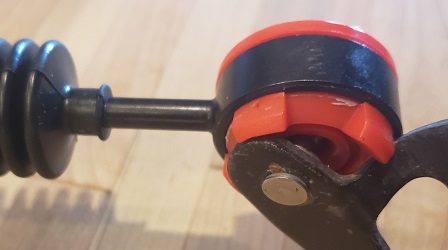
2. The oblong bushing should be inserted into the cable end by simply using your fingers to squeeze into place. You can if needed gently press the bushing into place using channel locks be careful not to damage the bushing.
 |
 |
 |
 |
