RT1Kit™
1. Remove the old bushing by grinding off the top center of the old bushing, and then knocking the bushing out of the cable end. This may look like a black plastic lid on the backside of the cable end opposite the bushing.
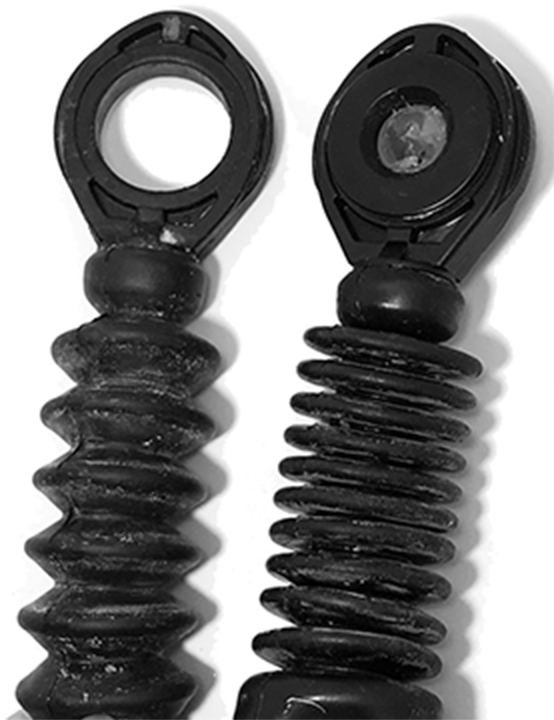
2. Familiarize yourself with the direction that the bushing should be installed into the cable end based on the way the cable lies on the transmission.
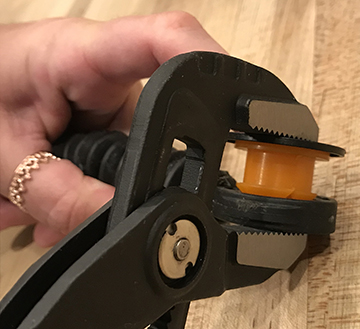
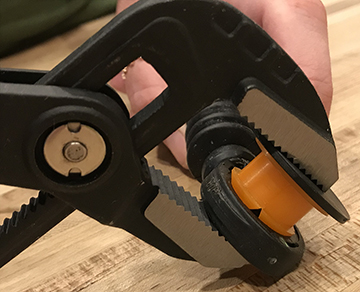
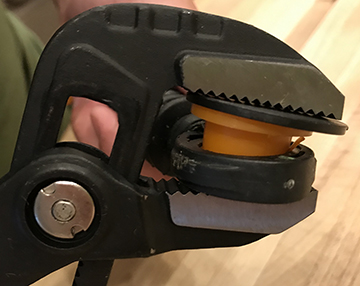
3. Place the bushing on the cable end with the notched side down, and place the protective disc on top. Once all of the components are aligned properly, squeeze them all together. We recommend using channel locks.
 |
 |
 |
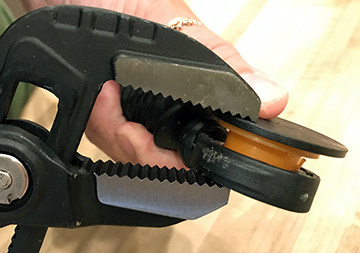 |
4. After the bushing is completely pushed in the cable end you can remove the protective disk.
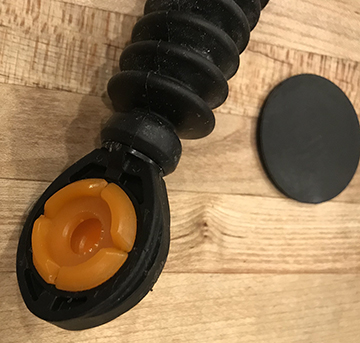
5. Inspect the ball that the cable end connects to. Remove any rust or dirt from the ball so it’s clean and free of debris. Apply a small amount of the included grease to the ball.
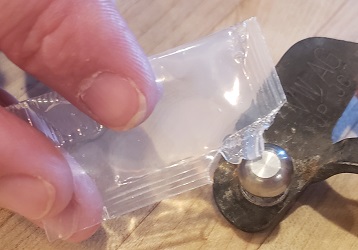
6. Reconnect the shift cable to the transmission lever. Be sure to check the shift lever movement and verify that the cables are adjusted properly. If the cables are out of adjustment, refer to the service manual for instructions on adjustment.
