UP1Kit™
The UP1Kit™ fits several different cable ends depending upon Year, Make, Model. The installation is the same regardless of cable end. The picture below illustrates some of the various cable ends that the kit will fit.
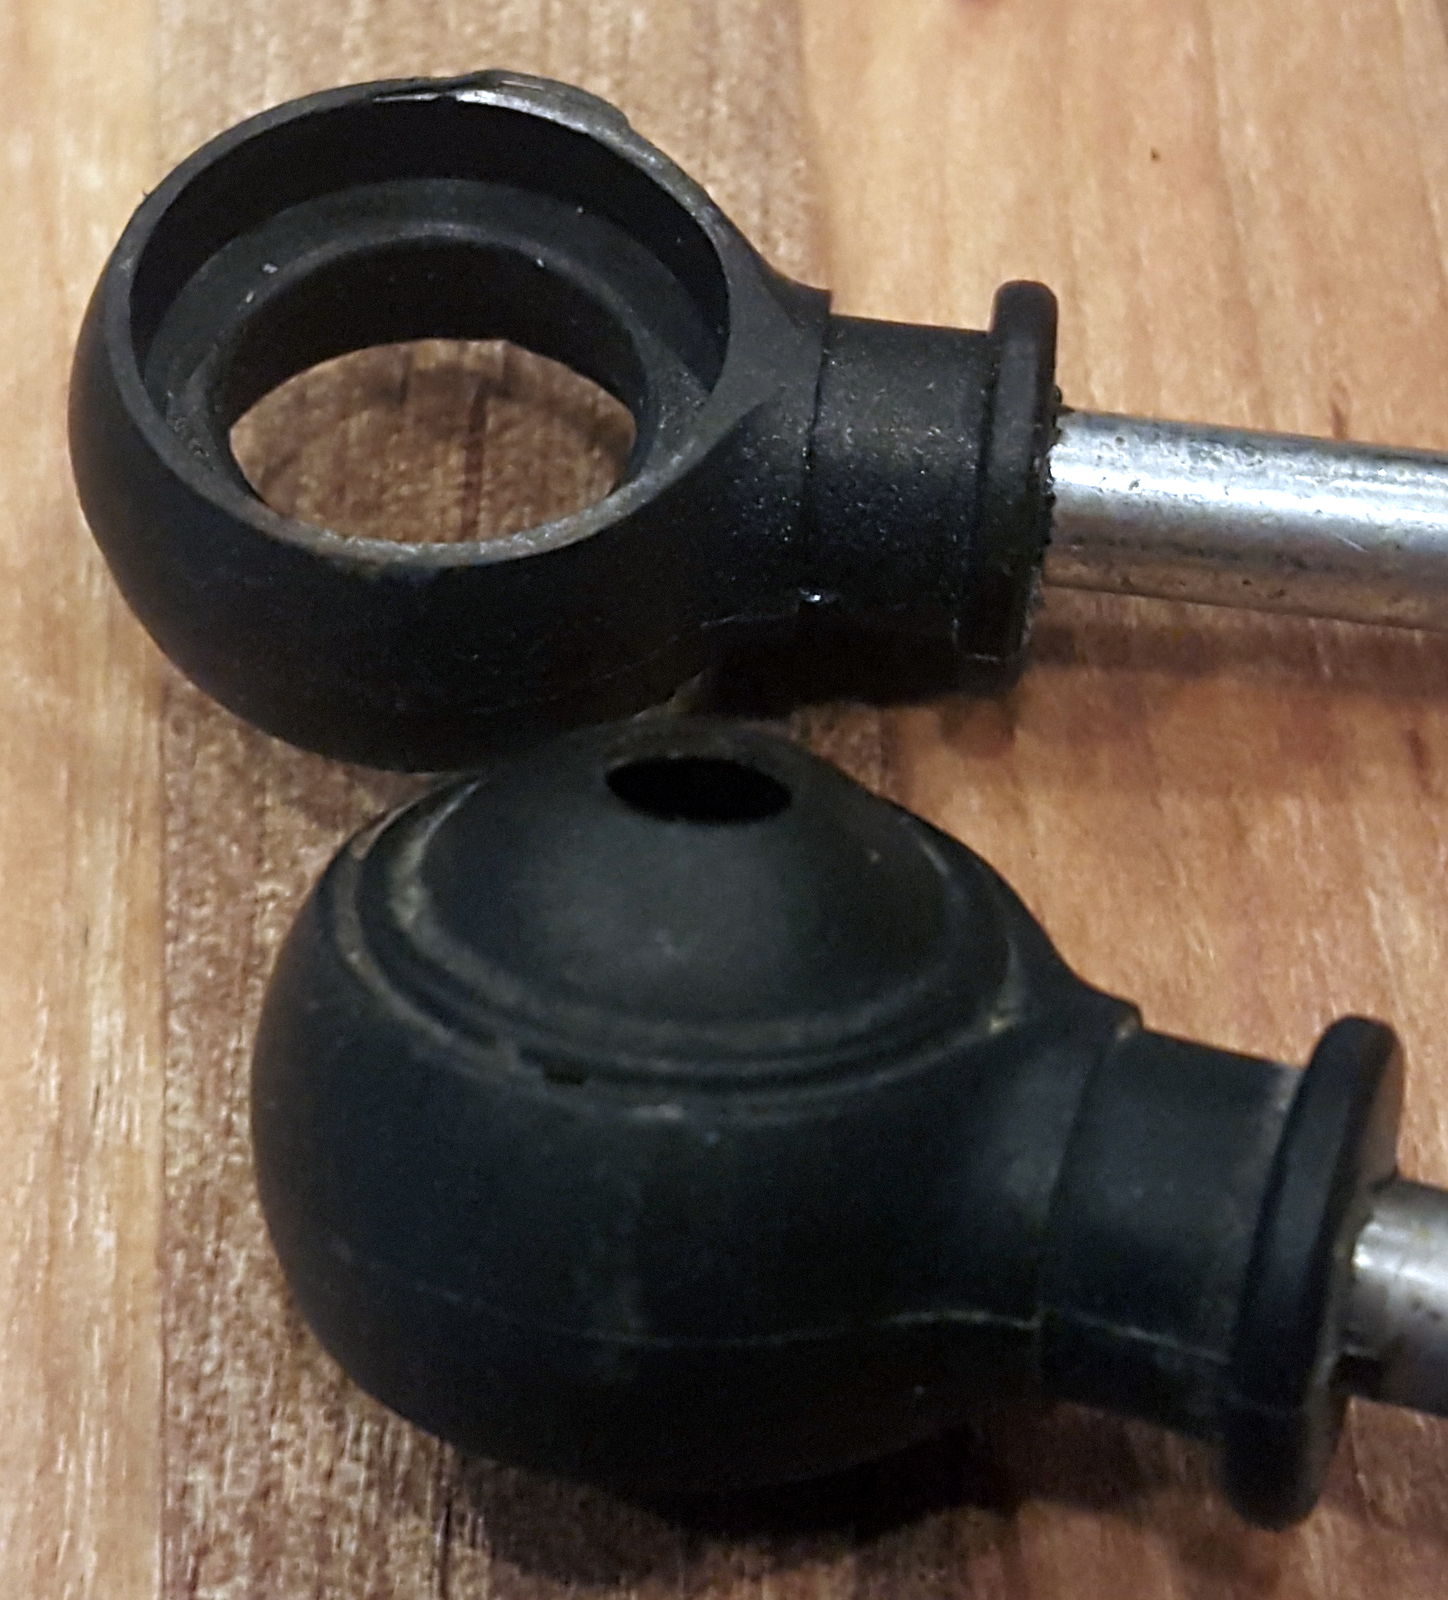
1. Start by accessing the shift cable end. On most vehicles, this involves removing the air cleaner and intake tube.
2. Set the parking brake or block the wheels. Place the transmission lever in park. You can verify its position by checking the PRNDL indicator inside the vehicle. Remove the shift cable bracket from the transmission. Refer to the factory service manual for your vehicle for these first two steps.
3. If there are any remains of the old bushing remove them from the cable end with a pick or small screwdriver.
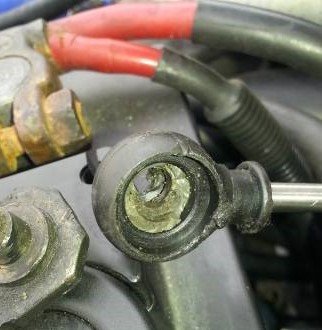
4. Install the cup (a) onto the shift cable end. The opening in the side of the cup should clip onto the cable (b) and the post in the center of the cup should center in the hole of the cable end.
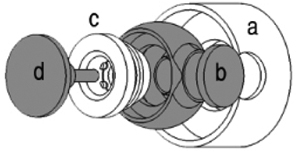
5. Install the button (d) into the bushing (c). The post of the button (d) should go through the center of the bushing (c).
6. Put the post of the button (with the bushing installed onto it) through the hole in the center of the cup.
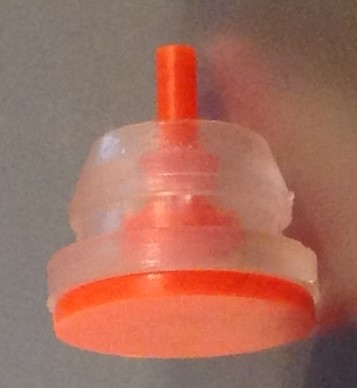
7. Use a small c-clamp or adjustable pliers to squeeze the bushing into the cable end. If using pliers, use the tips of the jaws to aid with installation.
8. Remove the button (d) and the cup (a) from the cable end.
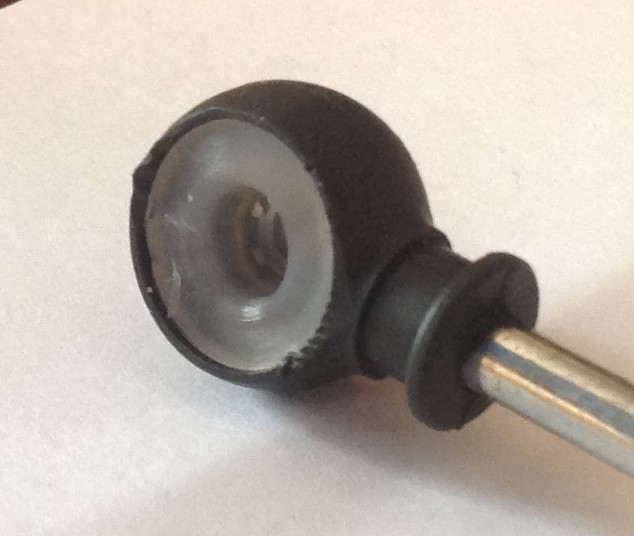
9. Reinstall the cable end onto the transmission and reinstall anything that was removed during the removal process. Be sure there are no pieces of the old bushing on the transmission lever.
10. Before starting the vehicle, test the shift cable by moving it from Park to the lowest gear and back several times.
11. Don't forget to remove the wheel blocks and disengage the parking brake.
